Your first probe
This guide walks you through creating a bundle, adding an HTTP probe, and sending your first request.
1. Create a bundle
Section titled “1. Create a bundle”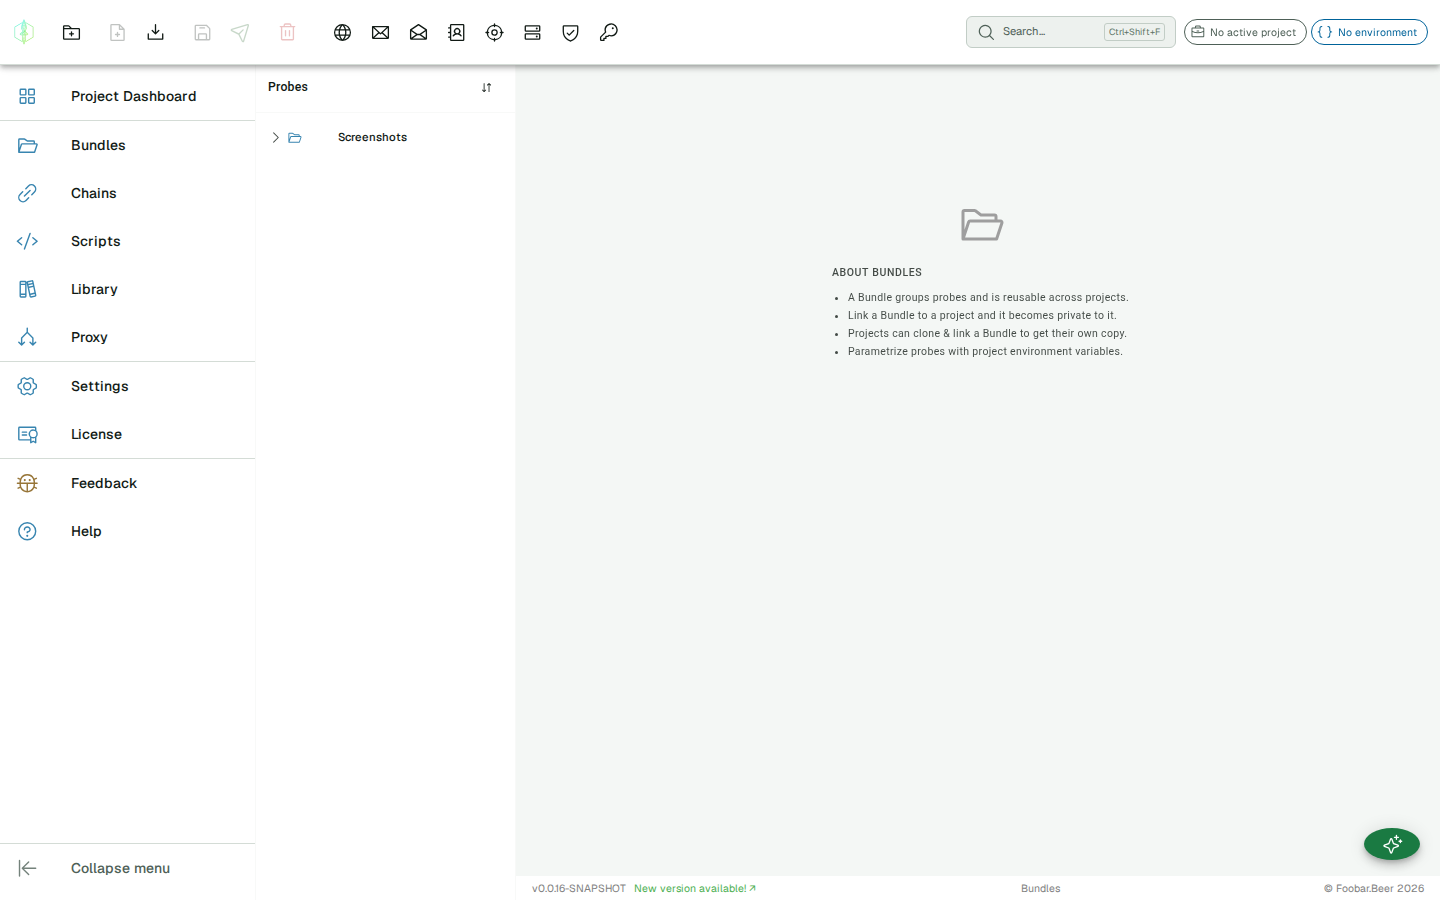
Navigate to Bundles in the left menu and click New Bundle, enter a name, and confirm. Bundles are the containers for probes.
2. Add an HTTP probe
Section titled “2. Add an HTTP probe”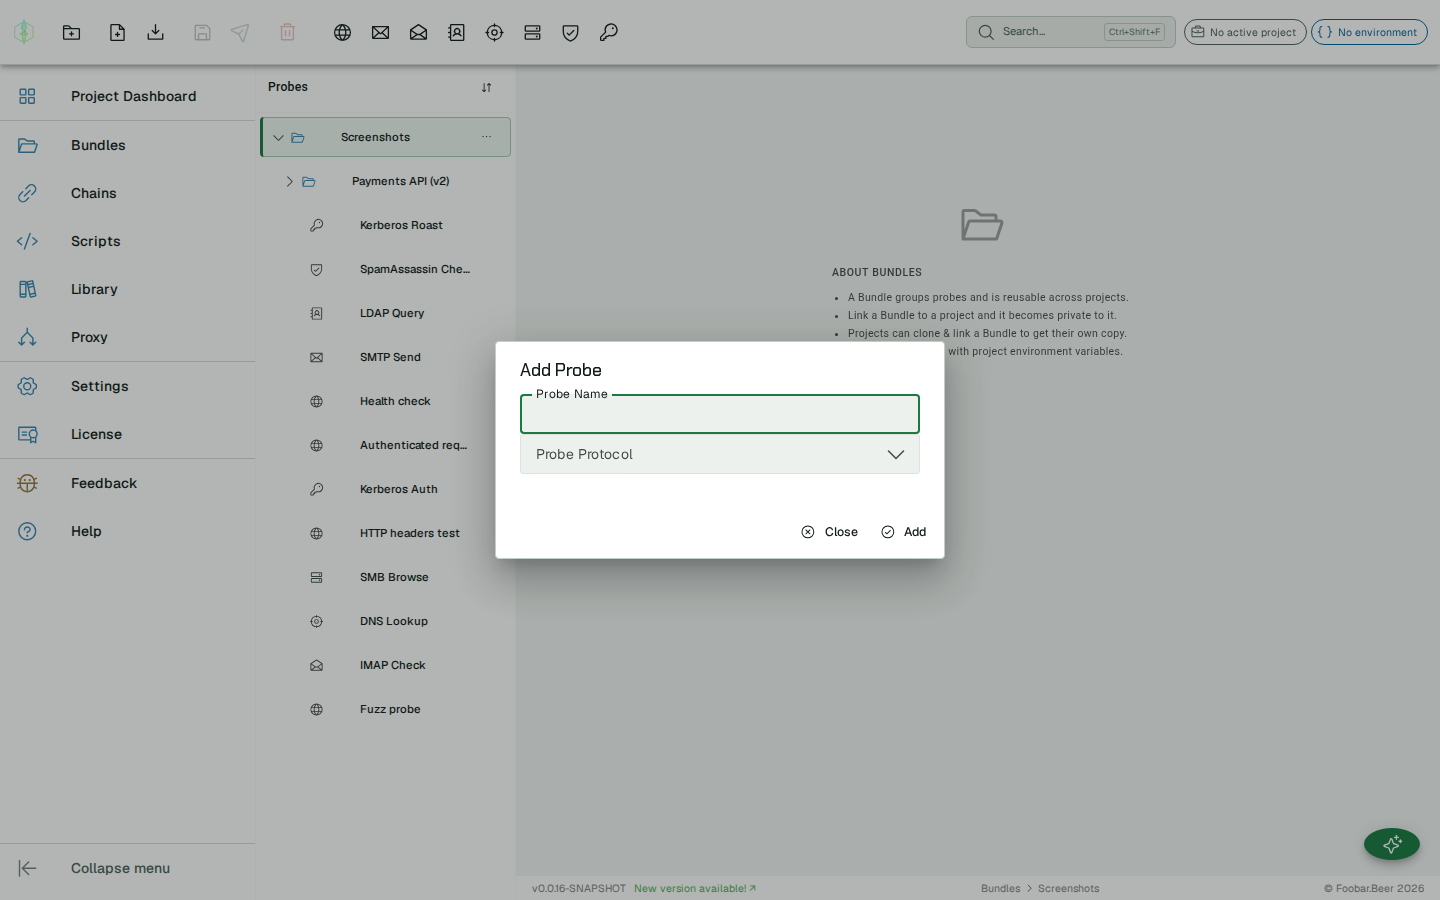
With your bundle selected, click Add Probe and choose HTTP. A new probe opens in the editor.
3. Configure the request
Section titled “3. Configure the request”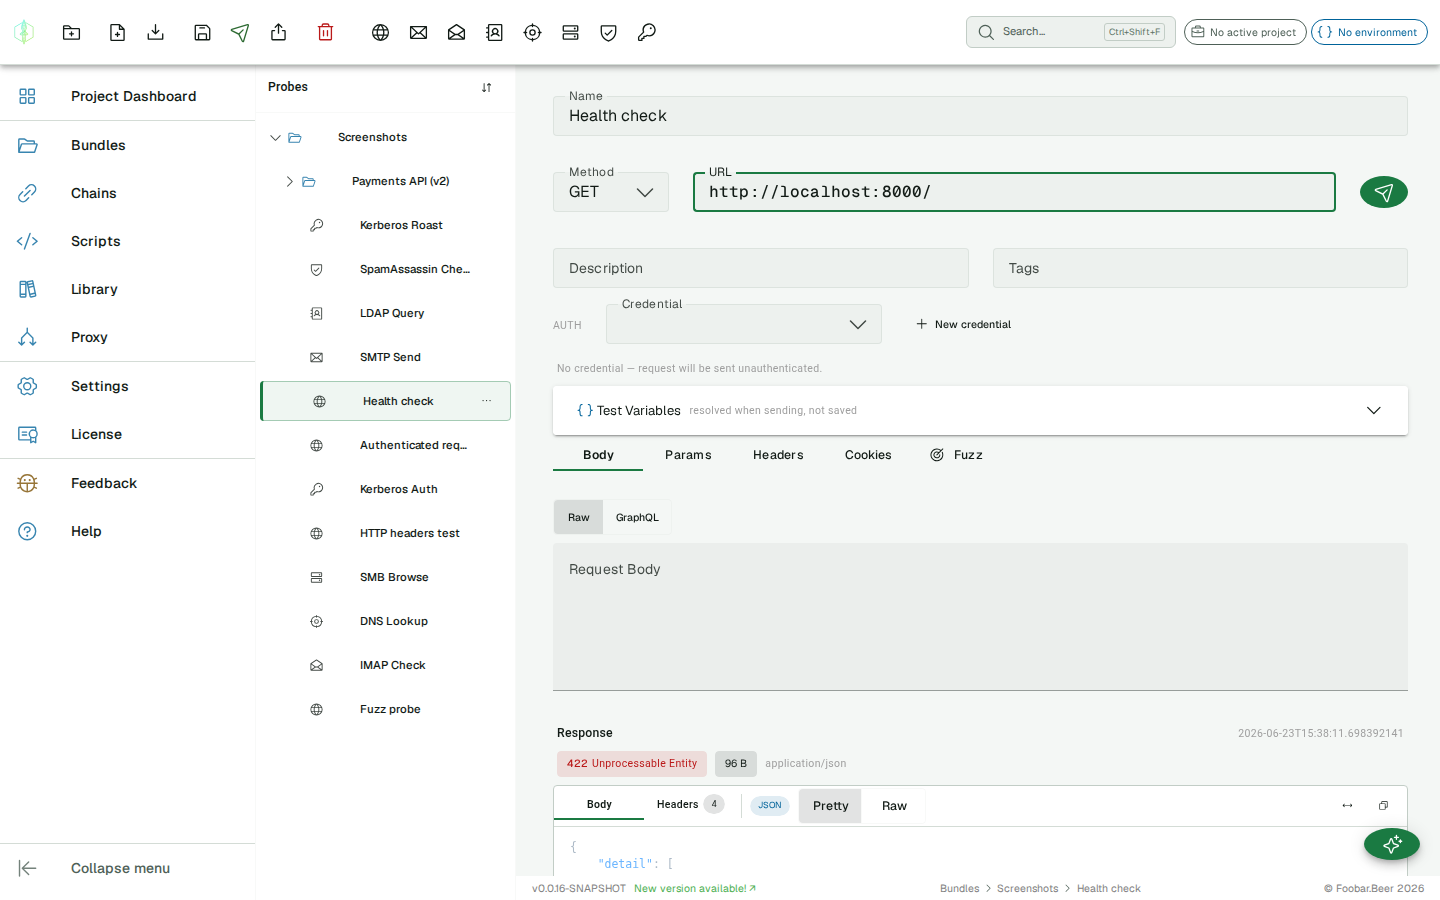
Fill in the target URL and select the HTTP method (GET, POST, etc.). You can also add:
- Headers — custom request headers
- Query parameters — appended to the URL
- Request body — for POST/PUT/PATCH requests
- Cookies
4. Send the probe
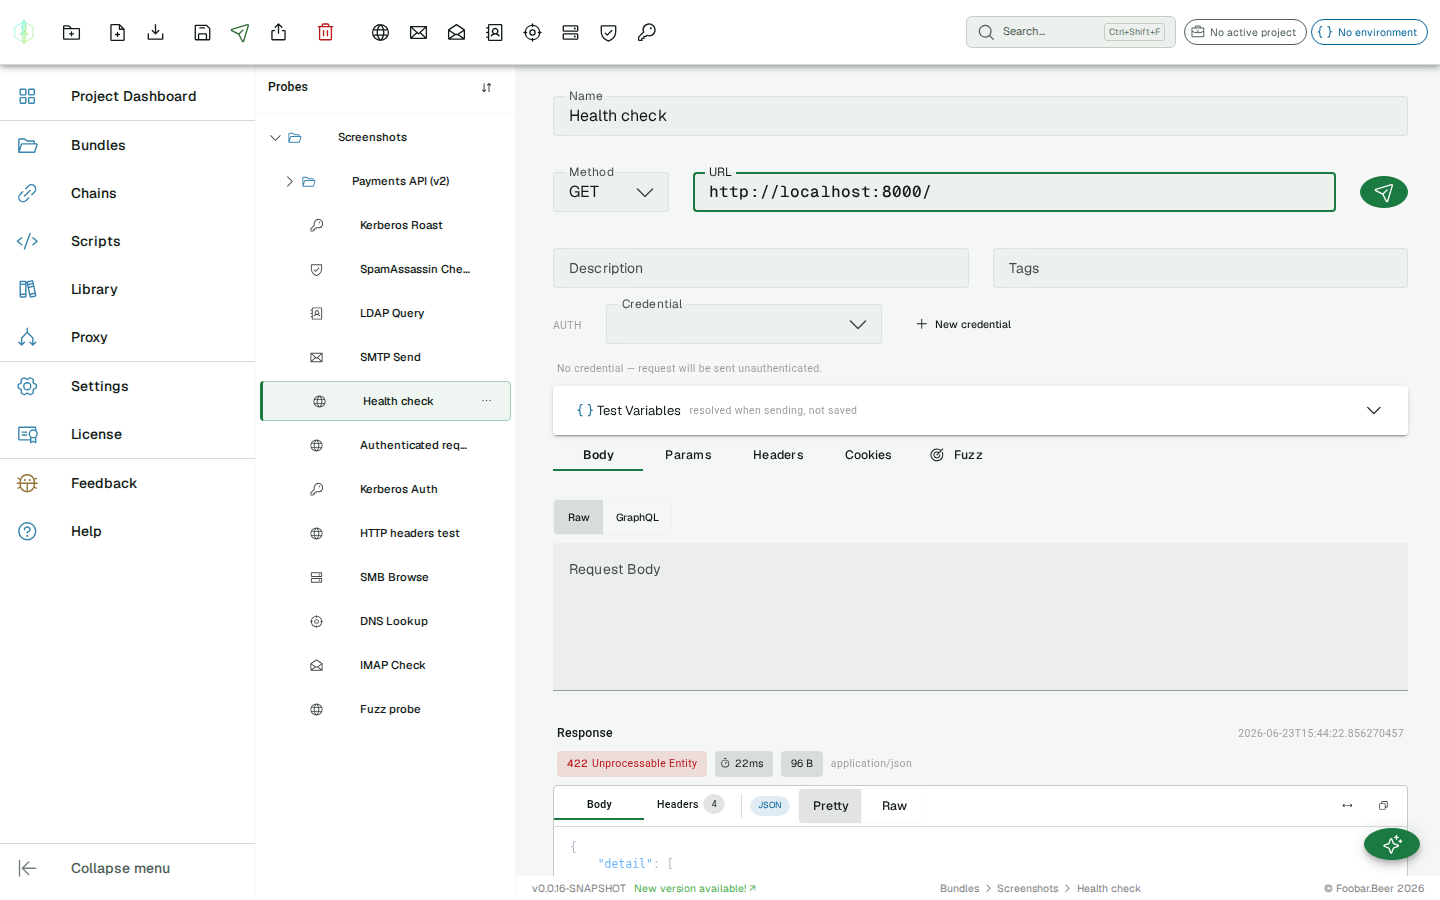
Section titled “4. Send the probe”Click Send. VirtuProbe connects to the target and displays the response:

- Status code and response time
- Response headers
- Response body with syntax highlighting
5. View history
Section titled “5. View history”Every send is recorded. Open the History panel at the bottom of the probe to browse previous responses.
Next steps
Section titled “Next steps”- Add assertions to automatically validate the response
- Use environments to parameterize the URL and headers with
{{variables}} - Chain this probe with other protocols in a chain